Your Cart is Empty
FREE SHIPPING OVER $39 USD (U.S. & CANADA)
FREE SHIPPING OVER $39 USD (U.S. & CANADA)
If you love picking up sprouts at the supermarket to add a fresh, crunchy bite to your meals, you’ll love how fast and easy is growing your own at home!
Sprouts add a crunchy texture to a sandwich or salad, plus they’re an affordable nutrition-packed superfood when grown at home. One cup of bean sprouts provides more than the recommended daily intake of vitamin C, and broccoli sprouts are considered to be a superfood. Plus most varieties only require a few days to grow, are very inexpensive, and growing them is also a fun activity for the whole family.
Sprouts are essentially plant seeds that have germinated and can be considered baby plants. You can grow many different kinds of sprouts and each one has its own benefits and flavoring. Some of the most popular options are black bean and green pea sprouts, sprouted grains, like buckwheat, amaranth, and brown rice, sprouts from vegetables, nuts and other seeds, like radish, beet, and alfalfa sprouts.
Generally speaking, any plant from which you would eat the stems and leaves is a good option for sprouting, and plants from which you only eat the fruits, such as tomatoes and peppers, typically don't work.
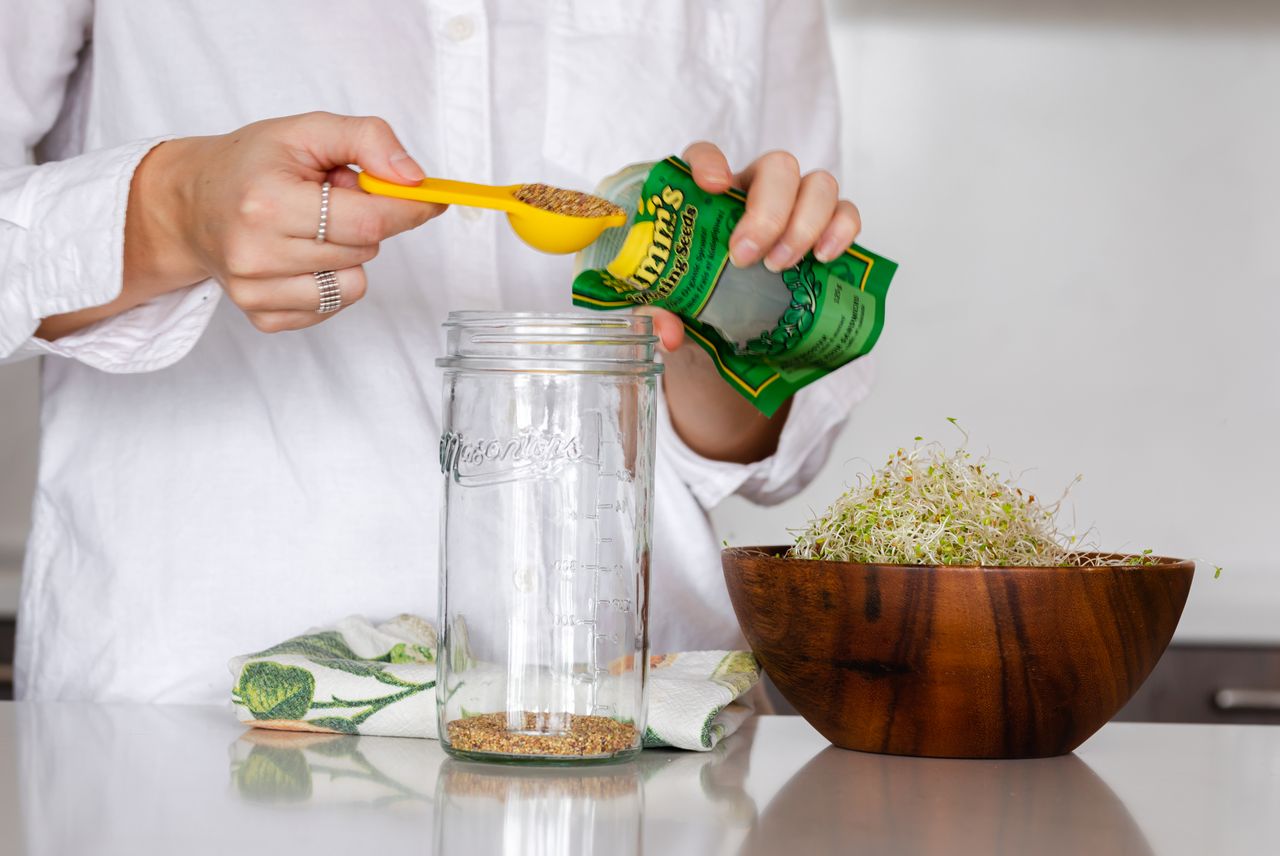
WHAT YOU ARE GOING TO NEED:
Sprouting lid, like Bean Screens by Masontops
Seeds of your choosing
Wide mouth Mason jar
Bowl with lid or food storage bag
Paper towel
Once you have all the items listed above, you are ready to start sprouting! Just follow these simple steps:
Mason Jars are the perfect vessel for growing Bean Sprouts because their clear walls allow for light to easily pass through and they can be sterilized in the dishwasher between sprouting batches.
OurBean Screen screws onto the mouth of wide mouth Mason jars and provides an anti-roll feature via the faceted sides, preventing the jar from rolling off counter tops. The Bean Screen also has pegs so the jar can be left upside down for optimal drainage.
If you also need sprouting seeds,click here.
If you only need Bean Screen Sprouting Lids and no seeds or jars,click here.
Are you ready to start sprouting at home? Join the conversation on our Instagramhere.
